The bus that is a bar is all good but it ain’t the right colour yet!

Just before I continue we have to take a few steps backwards. This bus RML2355 is one of the very few RMLs that was originally green in colour.. Therefor I should actually paint it green rather than red. The problem with that is, is that every punter, member of the public, tourist and their neighbors dog walker expects a bus like this to be red. It’s like painting a black cab blue, and NY taxi purple a London phone box white…. You catch my drift? It had to be red! So I apologize to all the purists out there and the bus geeks. It’s going to be red whilst she’s in my care.
Lets paint this Routemaster bus bar!
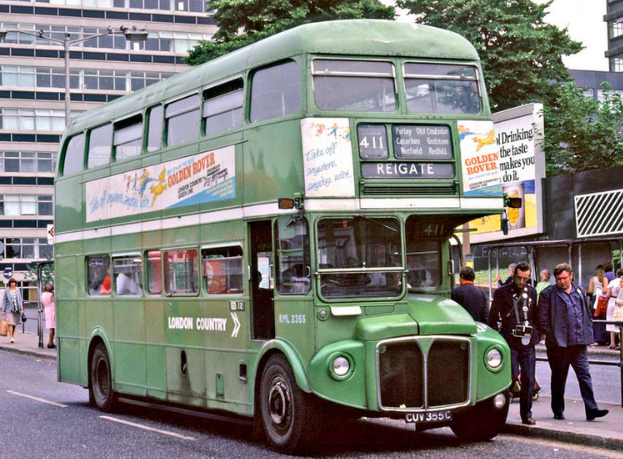
As I write this I’m reminded what a monstrous task it was to a paint an entire bus by myself but I also know that If I were to do it again it would be much quicker. I’ve made all the errors, I’ve figured out all the traps and hopefully I’ve actually got better at painting. So, at this stage the bus has been sanded, all the trim has been removed and the windows have been masked up.
Do I coach paint by brush?
Many of you won’t know but these buses were actually painted with mohair brushes. It’s the same as narrow boats. I did a lot of research on the actual technique and as per usual the pros make it look easy. I did have a go. Not a chance!! It was streaky, uneven and generally quite poor looking. It’s at this stage I got saved by the unit next door!
“I’ve got an old paint gun you can use..”
Chris from Competition classics (unit next door) came and had a look and suggested I use his old paint gun. We rigged it up to the compressor, loaded it with paint and I sprayed a small section. The result was instantly miles better than anything I had done thus far. My mind was made up. I was 100% going to spray the bus. The roof and top row of windows had already been painted red by brush and to be honest, with it being so high up you can’t actually tell the difference between that and a freshly painted surface. I chose to leave it as it was. From that point on it was just a case of getting the mixture of paint VS thinners right and improving my spraying technique.
Don’t let me tell you how to spray, it’s my first time!
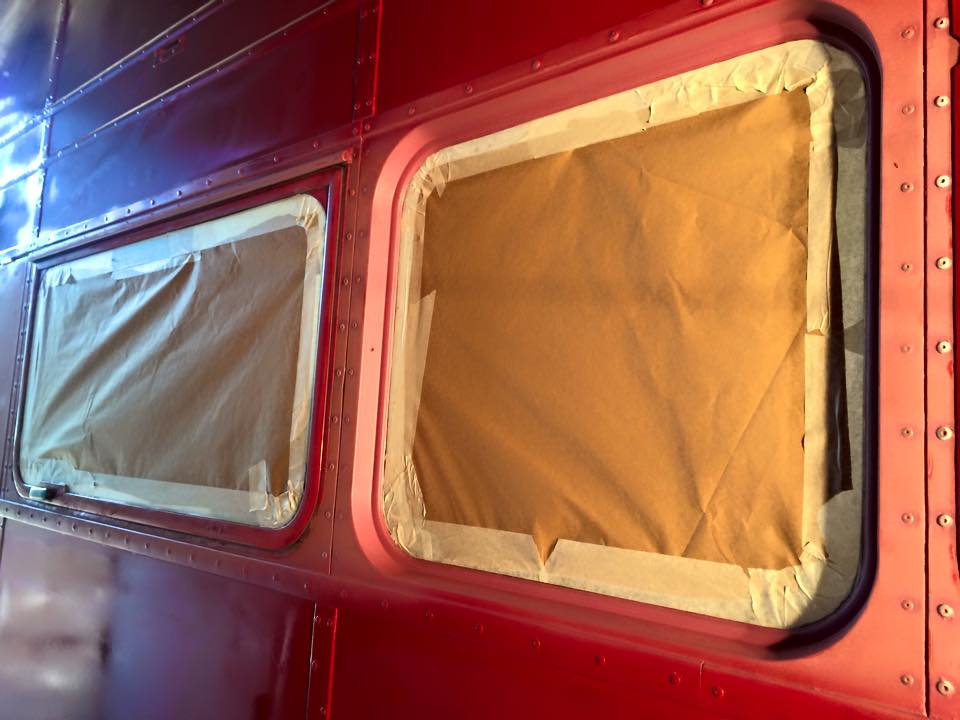
After I sprayed a few try out patches and rubbed them back down again I was ready to try an entire side. I wish I’d started with the driver side because that side never gets looked at. I didn’t and I’m now in a situation where the side that no one sees is technically the best. I choose to spray one panel at a time but working my way across the length of the bus continuously until reaching a masked corner. I found that the trick is to be able to see the reflection in the light. That’s where flaws will show up. It was back braking work and I had a very sore “trigger” finger from the paint gun.
I chose to paint one side fully, let it dry, clean and re-paint some people will tell you differently but this seemed to work for me. Some of you will have noticed that I’m painting in an open fronted building. I don’t have a closed building that is big enough to house a 30 foot long and 15 foot high bus so I had to make do with what I had. I did however keep a close look at the weather and I chose warm non-windy days to work.
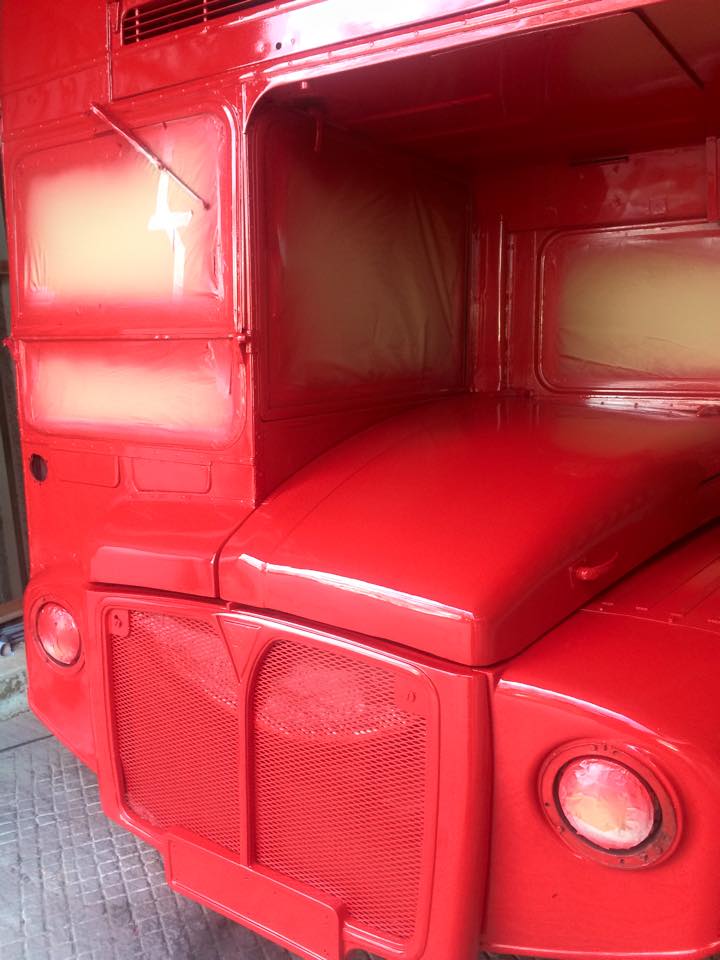
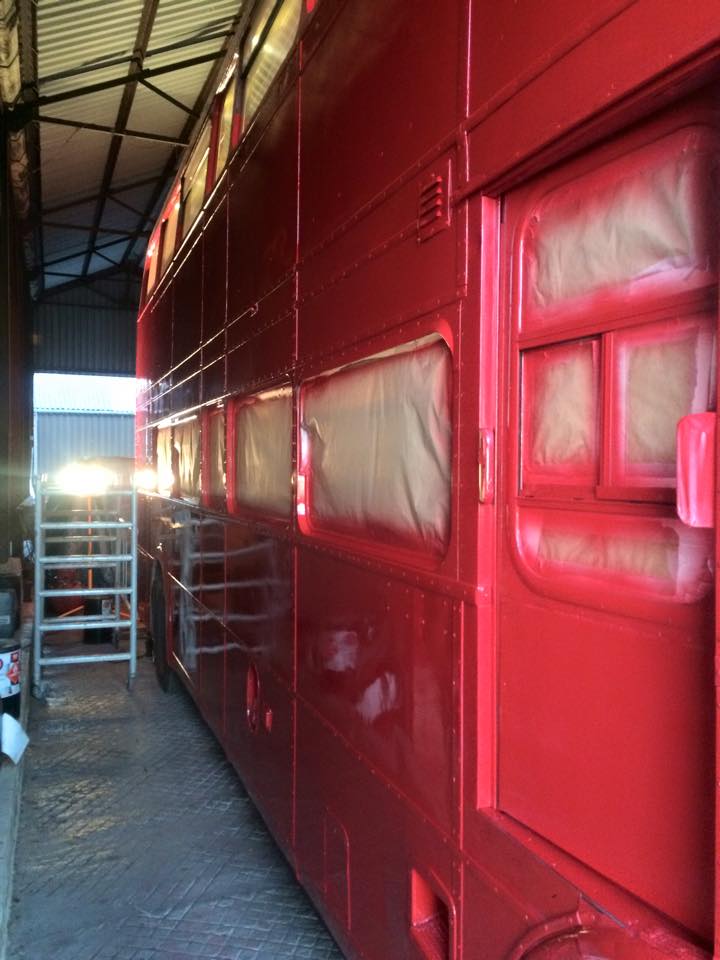
It was quite difficult to spray the front end because the area above the bonnet is very hard to reach. Also when spraying into an area like this it does fly back at you. I came home red for many days running!
I came back totally red on many occasions!
So, after many days painting I was actually quite pleased with the results. It didn’t really have that deep shine to it yet though. This was all about to change with the next step.

