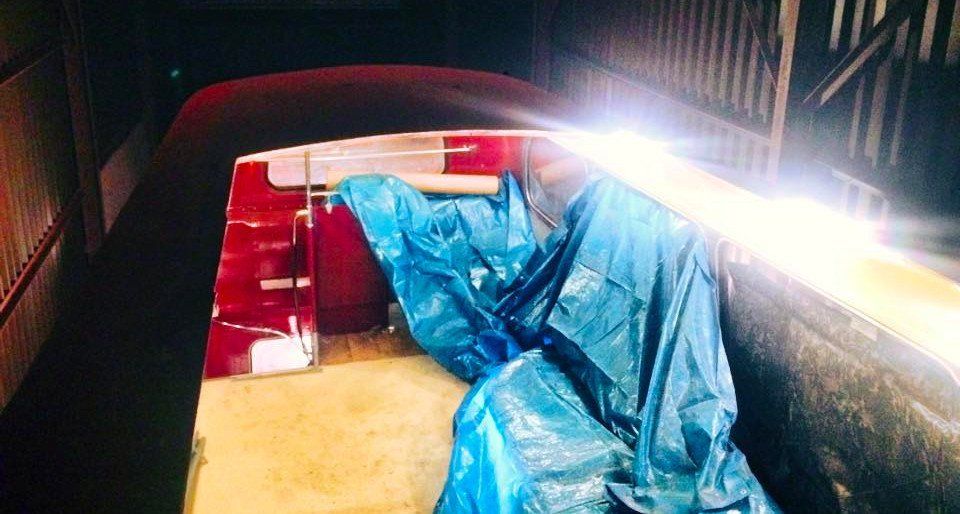
So this is the bit where some of you might want to look away. I know I know… I’ve cut a massive hole in a British icon. trust me when I say “It can be put back!”.
I was very careful to only removed exact panels. The panels are still in my possession. The only bits that would have to be re-created are two cross members in the center of the bus. Minimal damage but maximum sunshine fun!
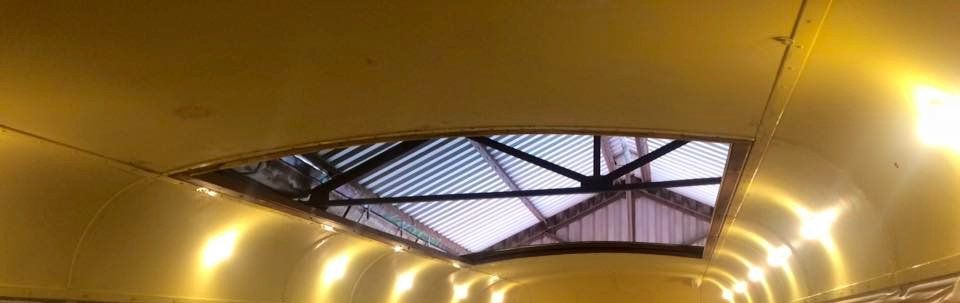
I remember the first time I walked up the stairs and saw the top of my workshop instead of the ceiling of the bus. The big deal for me was that I could finally stand upright on the top deck. The entire space has been totally transformed and feels so much bigger. when open on a sunny day it’s a wonder not all Routemasters were built with these.. ;)
I had to make some choices when it came to the construction of our sun roof. First questions where:
- Powered or manual?
- How to waterproof?
- sliding mechanism?
KEEP IT SIMPLE!
I had to remind my self a few times during the build to keep it simple. I was already fantasizing about pressing a button on a key fob and watching the roof gently sliding open…. Was never gonna happen!
Construction
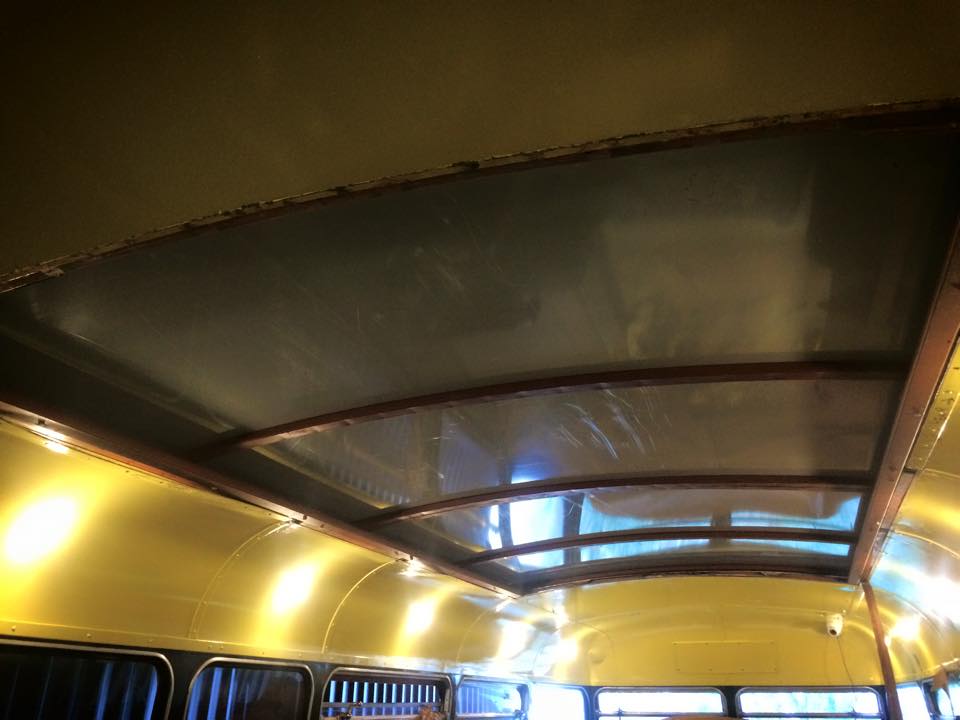
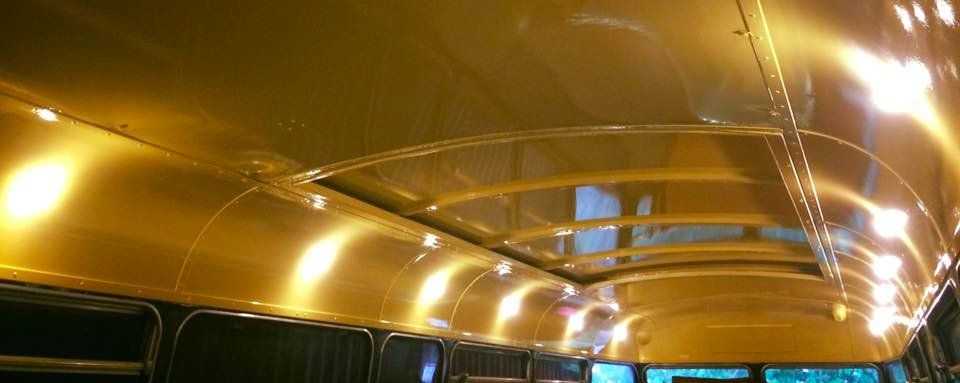
The basic principle of our sun roof is that it is essentially two curved sliding section in two C section rails that sit either side. This way both panels can be moved backwards and forwards by hand. Simple latches were put in place to keep the sliding sections in place whilst on the move and the C sections cover a nice overlap of the actual opening to keep the weather at bay. Having it powered was not an option because a motor couldn’t go on the roof (Low bridges) and couldn’t go on the ceiling. (you’d hit yer head)
I was going to fit a rubber seal all the way around the edge of the actual opening but it proved tricky to fit and also there are to many uneven sections in our bus so I opted for a wooden surround with about a 5mm clearance. The side overlap of the sliding panels also proved to be much more effective than I thought. Believe it or not, it’s totally water proof. The C section rails are also slightly raised from the roof of the bus so any water can drain out, a must in the UK! There is however still one issue that I have not totally resolved.
I have yet to find a bristle section that fits on the front of the sun roof to stop it from collecting all the wild life and leaves. I will find it but in the meantime I keep the dustpan and brush within reach.
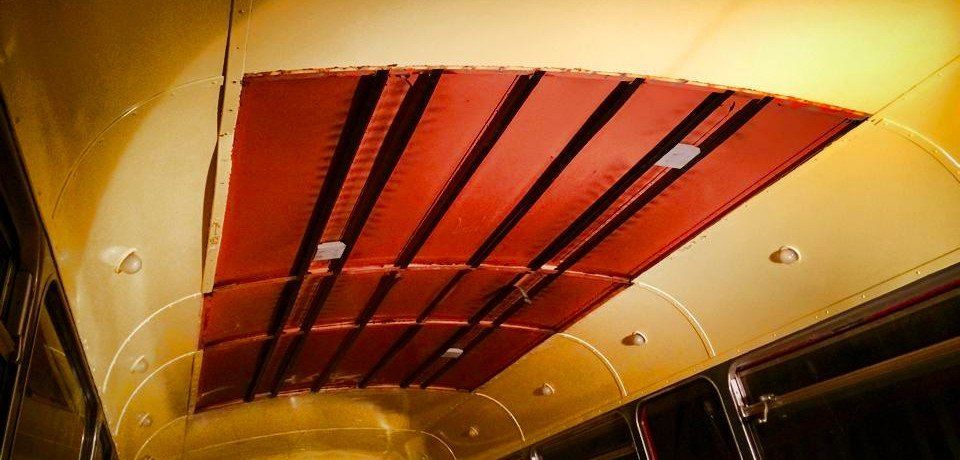
Because we had to remove two cross sections of the original structure we stuck two beams in length ways of the opening to offer support. The overal frame of our lovely Routmaster is very strong but we didn’t want to take any chances. The beams were bolted to the existing frame just like the added C section rails on the roof.
As most of you know, as soon as you start dealing with curved metal you’re in need of a pro. The sliding panels were done by a local metal work shop and fitted the bus perfectly. Once the panels were in the C section rails the ends were welded up, a bit of grease added and BINGO! One sliding roof.
Overall I’m extremely pleased with the way it came out, especially considering it was a one off and a first attempt. The only thing I’d change would be the guy that helped me design it, he was hard work! (no names mentioned) For my next bus (yes I have another) I’ll be doing the bulk of the work myself. I have a certain standard that some people don’t care for. Call me fussy or a pain but that’s the way it is! All we need now is some sunshine!