Just because the bus bar is sanded don‘t mean it’s ready for paint..

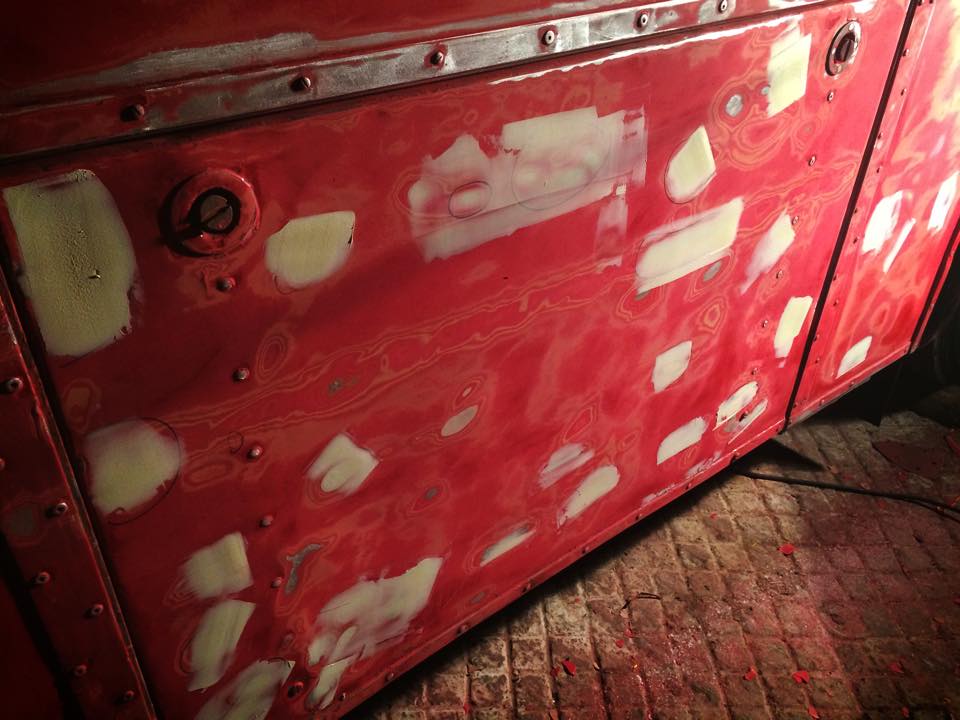
In between me getting the pink paint on the bus and messing up the surface and having to re-sand the entire thing there were many evenings spent filling in and rubbing down dent’s in the bodywork. Again, If I’d known how much work it was to fill and sand every minor dent I would’ve replaced more panels. That was easily done!
Next time I’ll replace more panels rather then fill and sand..

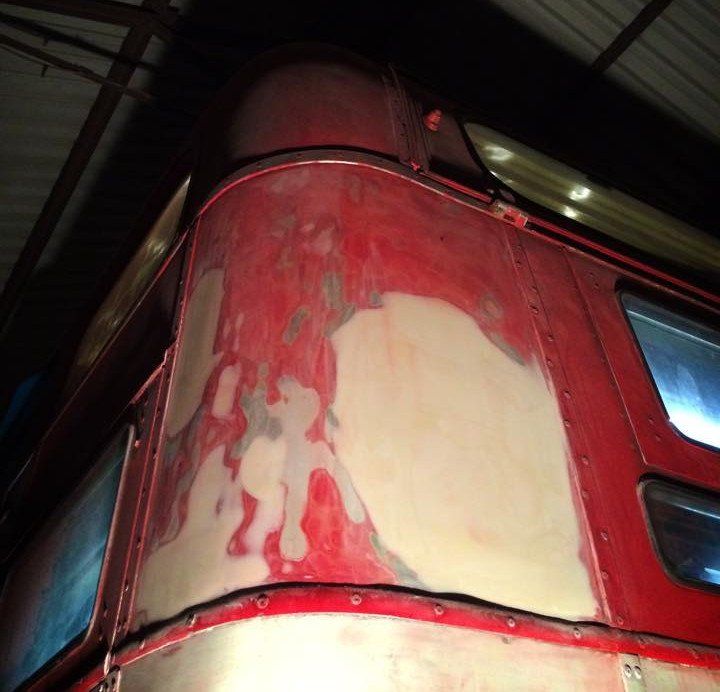
I say that replacing panels was easy, and it was but I only ever touched the flat ones. There are some very complicated shapes on a Routemaster especially the section you are looking at in this photo. It’s called a double convex. For those of you that don’t know what that is. It’s curved in two directions at the same time. The obvious curve is the corner of the bus but the back end also curves inwards to give it it’s round rear roof. These panels are notoriously expensive to create and difficult to fit. I was advised from a very early stage onward to leave them alone.
I was advised from a very early stage onward to leave them alone….
That advice was sound but one of my double convex panels had a huge dent in it! No way I was going to replace it so filler it was. I’ve never seen so much filler disappear in one dent. It went on for some time.

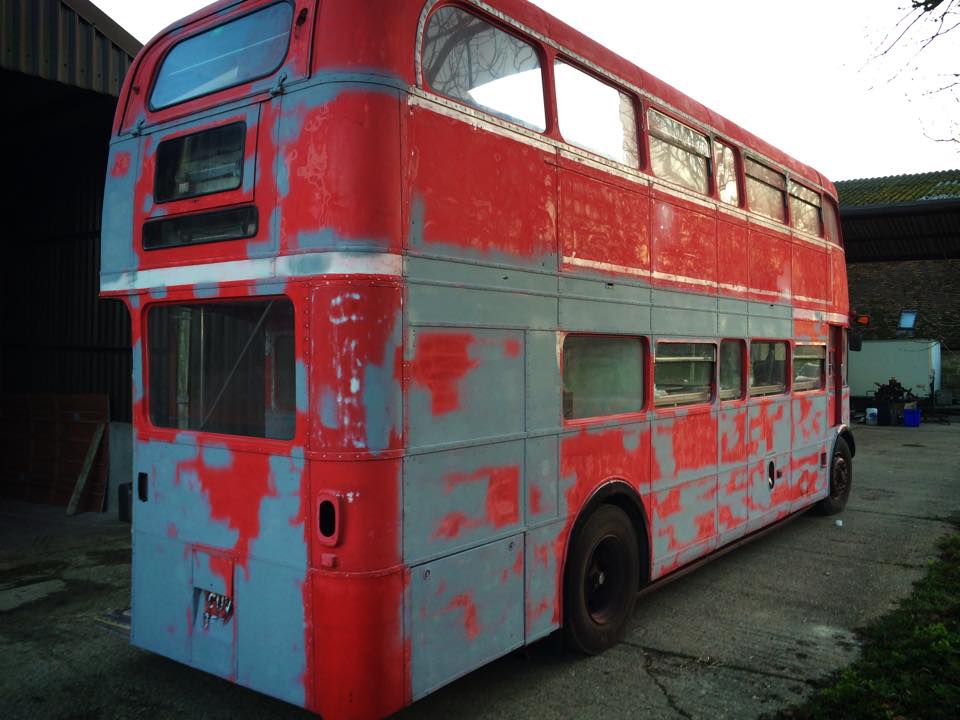
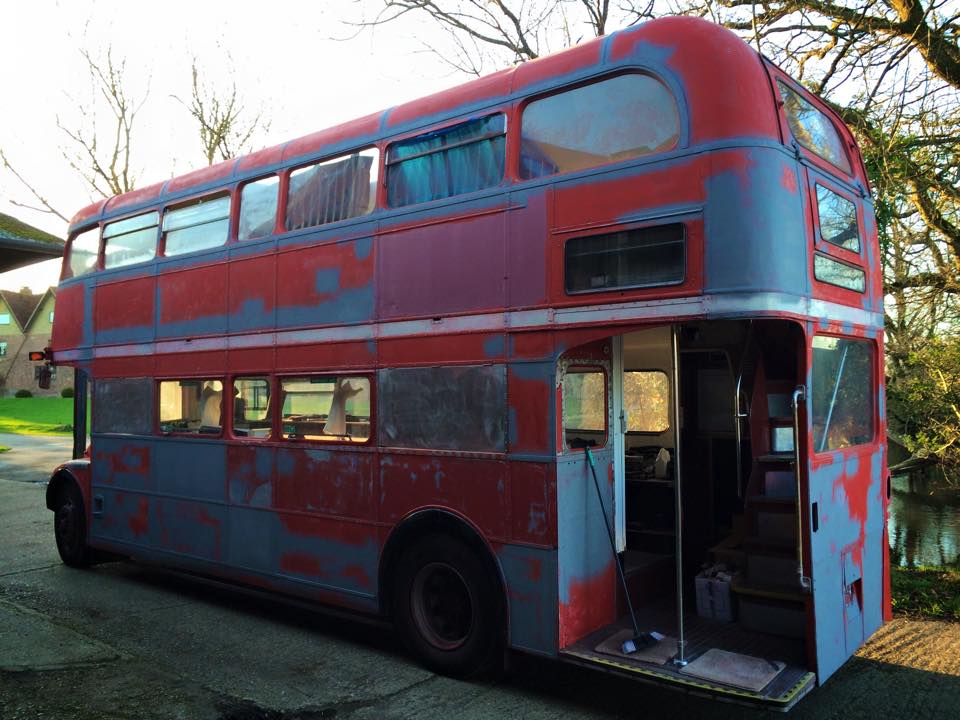
This is one of my favorite pictures of the entire build. You can really see the amount of work that went into making her look shiny and red. All the bare and exposed aluminum has so to be sprayed with etch primer. It’s grey in colour and it properly sinks into the metal. This stops it all flaking off once dry.

One of the main things I would change on the next mobile bus bar build would be to paint the bus before I build the inside. The downside is that you’re constantly working around a freshly painted vehicle but it will save a huge amount of time in masking everything up.


